grownup crayons...
Hello my fabulous friends!
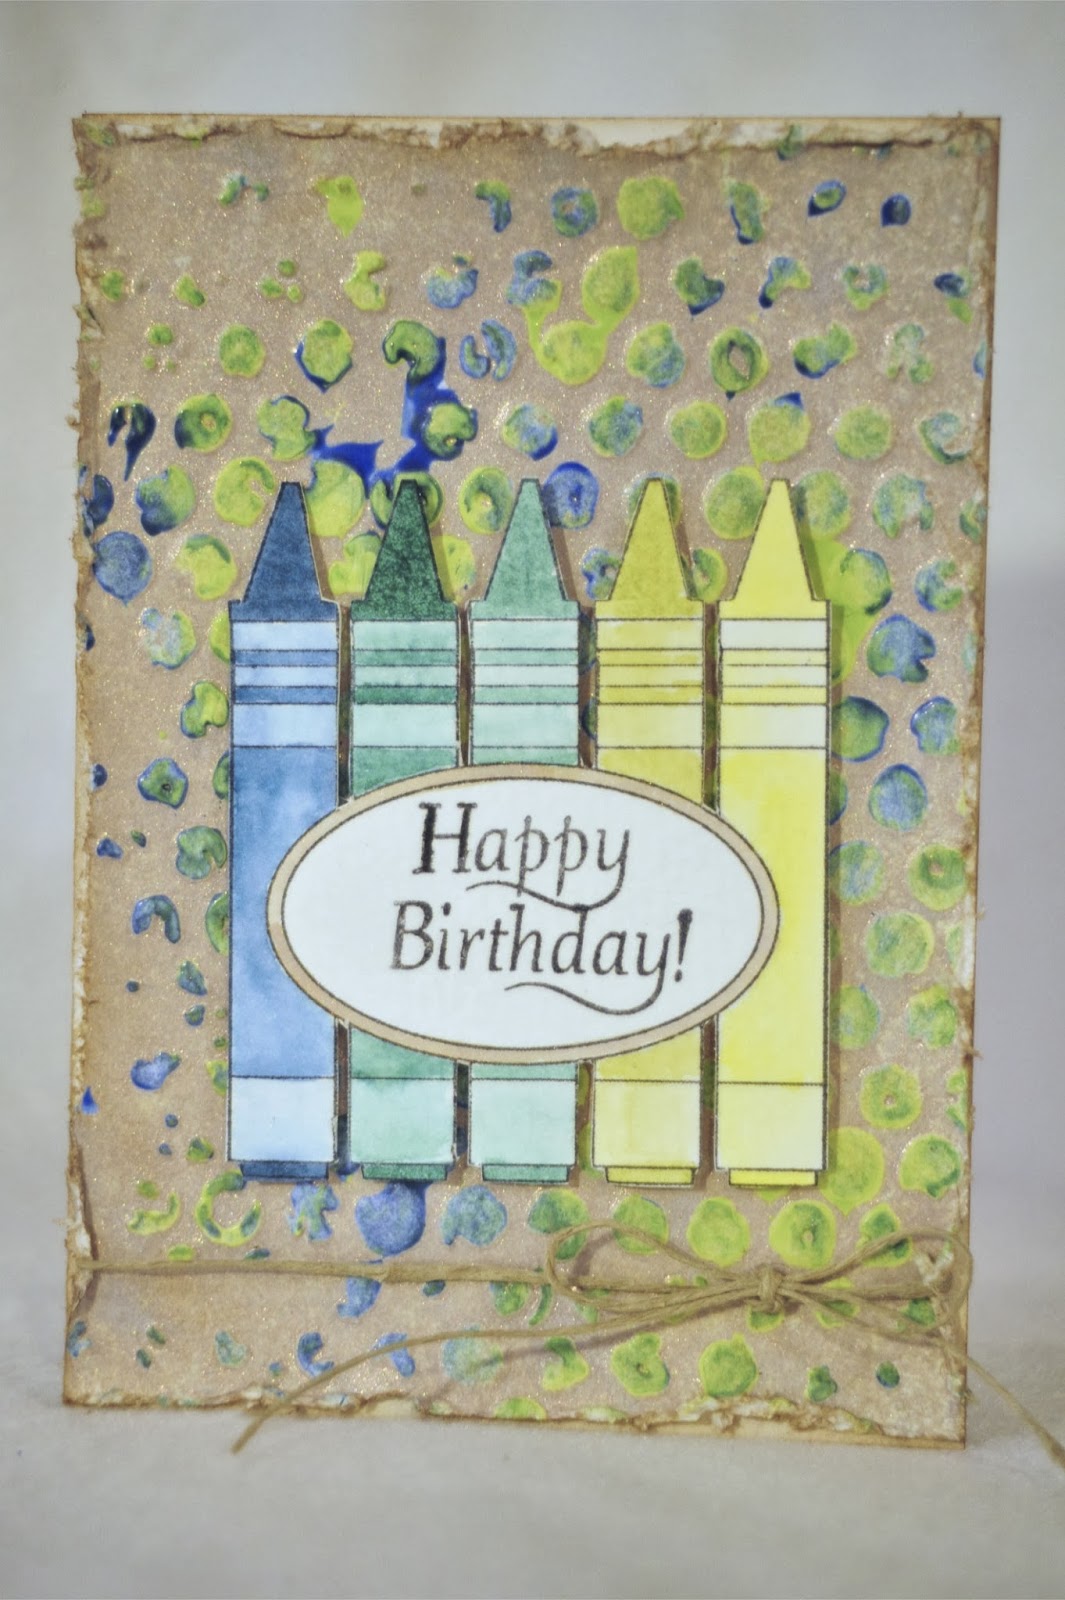
My little nephew's birthday is coming up, and as I was trying to decide what to put on the card, I saw this crayon stamp from Unity that I got as part of a grab bag... I hadn't used it on anything yet, and now seemed the perfect time.
I decided that it was also the perfect time to use a wax resist technique... After all, what goes more perfectly with stamped crayons than real ones?

Step 1: Emboss a piece of card stock. I used one of Tim Holtz's embossing folders.. love the random distress look!

Step 2: color a crayon directly onto the flat side of a HOT iron. The one I use is actually made for quilters to press seams. I love that it is really small and lets me have more control with where the wax goes.

Step 3: Paint on the melted wax by lightly rubbing over the embossed surface.

Step 4: Feel free to mix colors! When you go over an area that already has wax, it will remelt and swirl in with the new color.

Step 5: Apply dye ink to the whole project to color your background. I used a Lindy's Stamp Gang Starburst spray, for a quick coloring and shimmer in one step... other inks work too... You can use an ink blending tool to apply Distress ink, or dye inks. The wax will resist the ink, making the embossed design pop!

Step 6: finish project as desired...
Melting wax is so much fun! I fall in love with it over again each time to pull out the crayons...
Enjoy!
~Kassi
Supplies Used:
Paper: card stock, watercolor paper
Ink: Archival Ink, Distress Markers, LSG Starbursts "Opal Sea Oats" & "Silent Night Silver"
Stamps: Unity "Blossom Stackers" & the crayons are from a grab bag, so I have no idea which kit... sorry!
Other: Tim Holtz "Bubbles" embossing folder, crayons
Super fun card and technique, Kassi!
ReplyDeleteWOW!! this card is absolutely AMAZING!! Love your technique.. TFS!
ReplyDeleteWow, this really has a fun effect. Thanks for the tutorial, Kassi.
ReplyDeleteWhat a great tutorial! I always enjoy your projects.
ReplyDeleteI love your card, the crayon stamp is great and wow your background...Thank you for sharing your tutorial....Love your little iron too! xx
ReplyDeleteGreat project and tutorial. You always come up with the coolest techniques. :)
ReplyDeleteThat background is amazing. I've never seen that tiny iron... now I have to go the craft store! Thanks a lot! LOL :)
ReplyDeleteThat's awesome. I did a card a few days back that had the crayons melted on the card with the heat gun. I like the way you did it & I have one of those too! I love your card. Great for kids! Hugs~Patti
ReplyDeleteWhat a perfect idea to use crayons on a crayon card! Love the finished look, too.
ReplyDeleteAwesome age appropriate card AND LOVE the technique! I've never seen this before!
ReplyDeleteThere are always so many wonderful projects on FwF days, but this is my very favorite this week! Oh my…love this and thanks for sharing your technique…fabulouso!!
ReplyDeleteSuper cute card! I love the wax technique! Thanks!
ReplyDelete