in distress...
Hello my wonderful friends!
If you are looking for the Unity hop post... go ahead and click HERE, or just scroll down.
Speaking of the hop, I had some questions in the comments asking about how I did this card.
This is actually kind of a fun technique... ready to get a little messy?

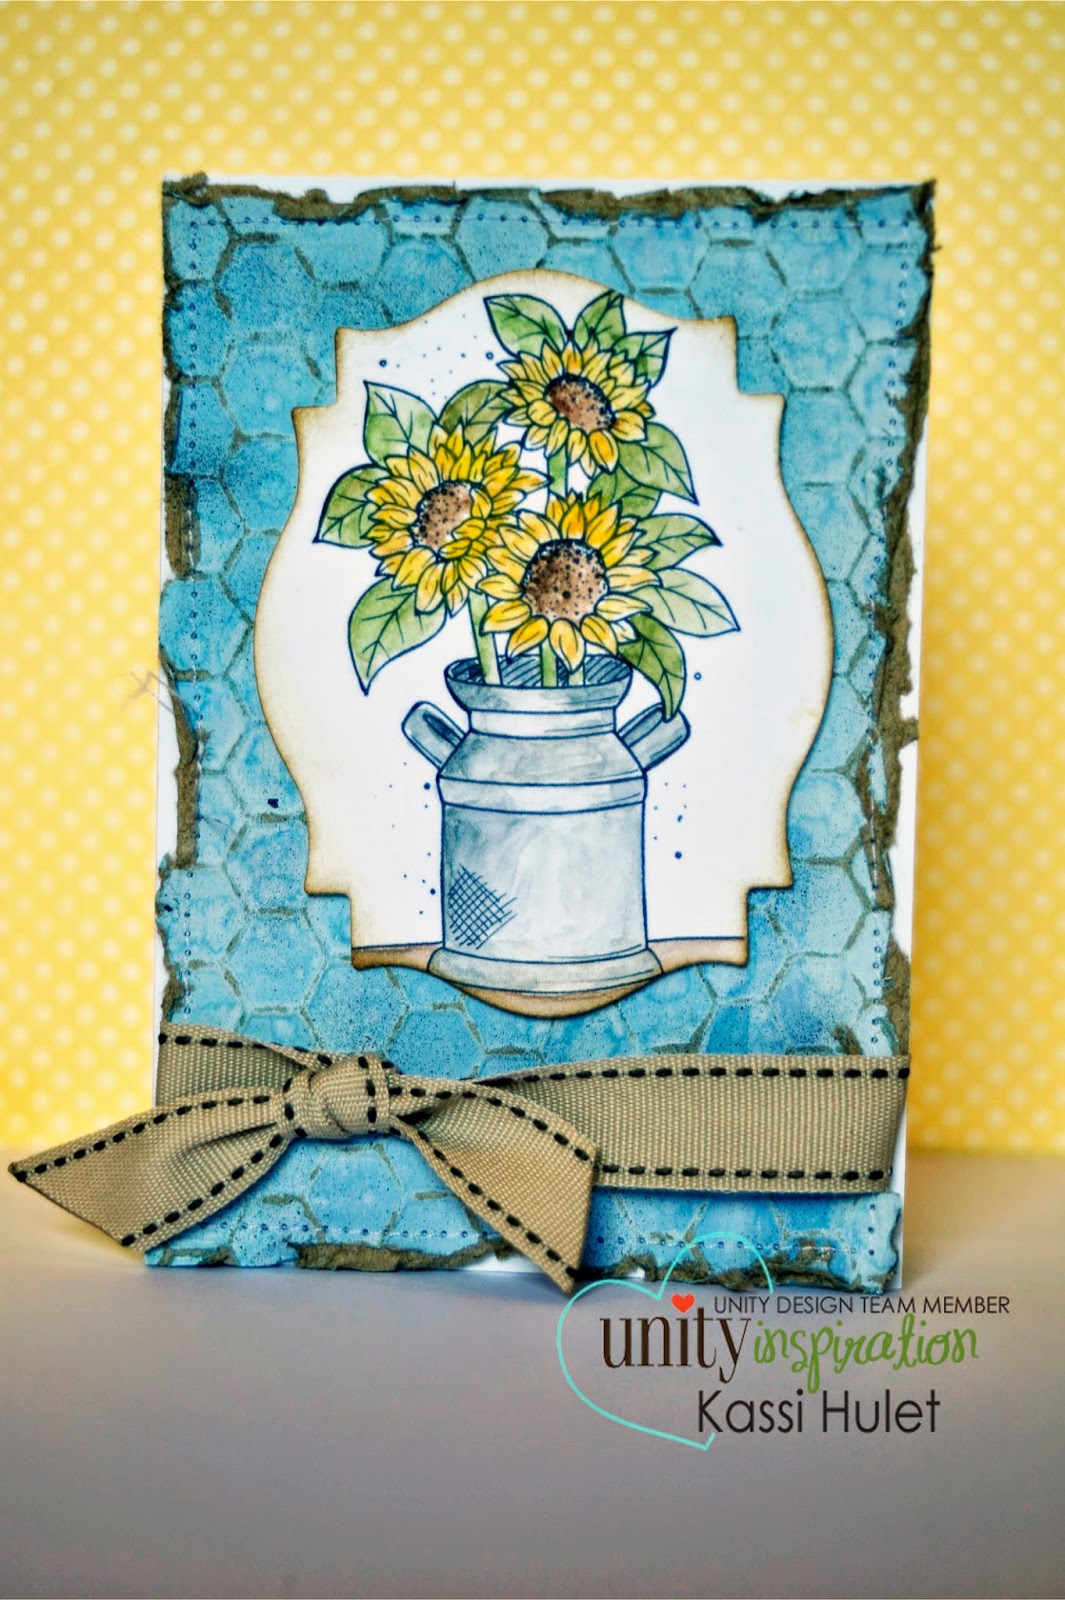
Step 1: add a couple drops of Distress Reinker to some white gesso or acrylic paint.
(for my original card, I used Salty Ocean, for this sample, I grabbed Chipped Sapphire)

Step 2: Completely cover a piece of kraft card stock with 1-2 layers of your tinted paint... allow to dry between layers (or if you are impatient like me, dry it with a heat gun!)

Step 3: Run your dry piece through an embossing machine using desired embossing folder.

Step 4: Gently sand off the paint from the embossed areas. I like using a sanding grip for this, but regular sand paper works fine.

Step 5: Now comes the magic of Distress Ink! Flick water onto your piece... The ink will react and do some fabulous things. And, because you have some exposed kraft paper (where you sanded off the embossed areas) you'll get some deeper colors in those areas. Super fun way to get a distressed look!

Step 6: If you want a tattered edge, use a paper distresser, or the edge of your scissors to scuff up the edges.
(For my project, I also ran did a regular stitch along all the edges with my sewing machine.)

Step 7: If you want to go a step farther.... try using a marker spritzer to splatter light droplets of ink.. I'm using a sharpie for a permanent black!

It's super faint, but you can see the light speckles. I love the added touch this gives!
Now you are ready to dress it up with your favorite stamps!
*As a side note... For this to work, you do have to mix Distress Reinker with white gesso or acrylic paint. Using Distress Paint, while it will give you the color, it is specially formulated to NOT react to water once dry.*
Hope that helps all those who were asking! I love it when I get questions! It gives me ideas on what to share! Thanks for commenting!
Enjoy!
~Kassi
Thanks for sharing this technique . Love all the layers and texture.
ReplyDeleteThanks! This is awesome and I loved your background, now I know how you did it ;)
ReplyDeleteAbsolutely fabulous!
ReplyDeleteThanks so much, think I will try later today!
ReplyDeletevery awesome technique!!! Thanks for sharing.
ReplyDeleteThat is amazing! Thanks for the tutorial!
ReplyDeleteLynne your project is great one I would love to do this one I will try it when I get time I just dont have all the stuff to do it just this min.thank you so much .
ReplyDeleteMaryRedford